Tuesday 3 April 2018

Crafting by not a very crafty mum - tie dye baby wipes

I need to stop describing Little E as a "reluctant artist". He isn't - he just doesn't want to draw things.

Been pondering this a lot since we did this project. As with other things we have done, Little E just lit up when he saw all the colours we were going to work with. He loves mixing colours together and setting them next to each other. He says things like, "No, that's perfect as it is...Isn't it beautiful, mummy? No, we need one more colour..." I am not sure how common it is, but Little E tells me if my clothes are beautiful or if he likes the colour someone is wearing. He has very strong feelings over what he wears and is passionate about certain colours.

I am glad Little E has opened me up to all the different ways you can express yourself and I enjoy finding things that I think will appeal to him. We just currently appear to be more Rothko than Rembrant!

Anyway, this was something I had seen ages ago on Pinterest and came up when I was thinking of Easter thank you cards.


I really enjoyed making a tie-dye t-shirt for Big E last year and I really enjoyed doing this with Little E. It was so simple and he found it so satisfying to choose the colours and apply them.


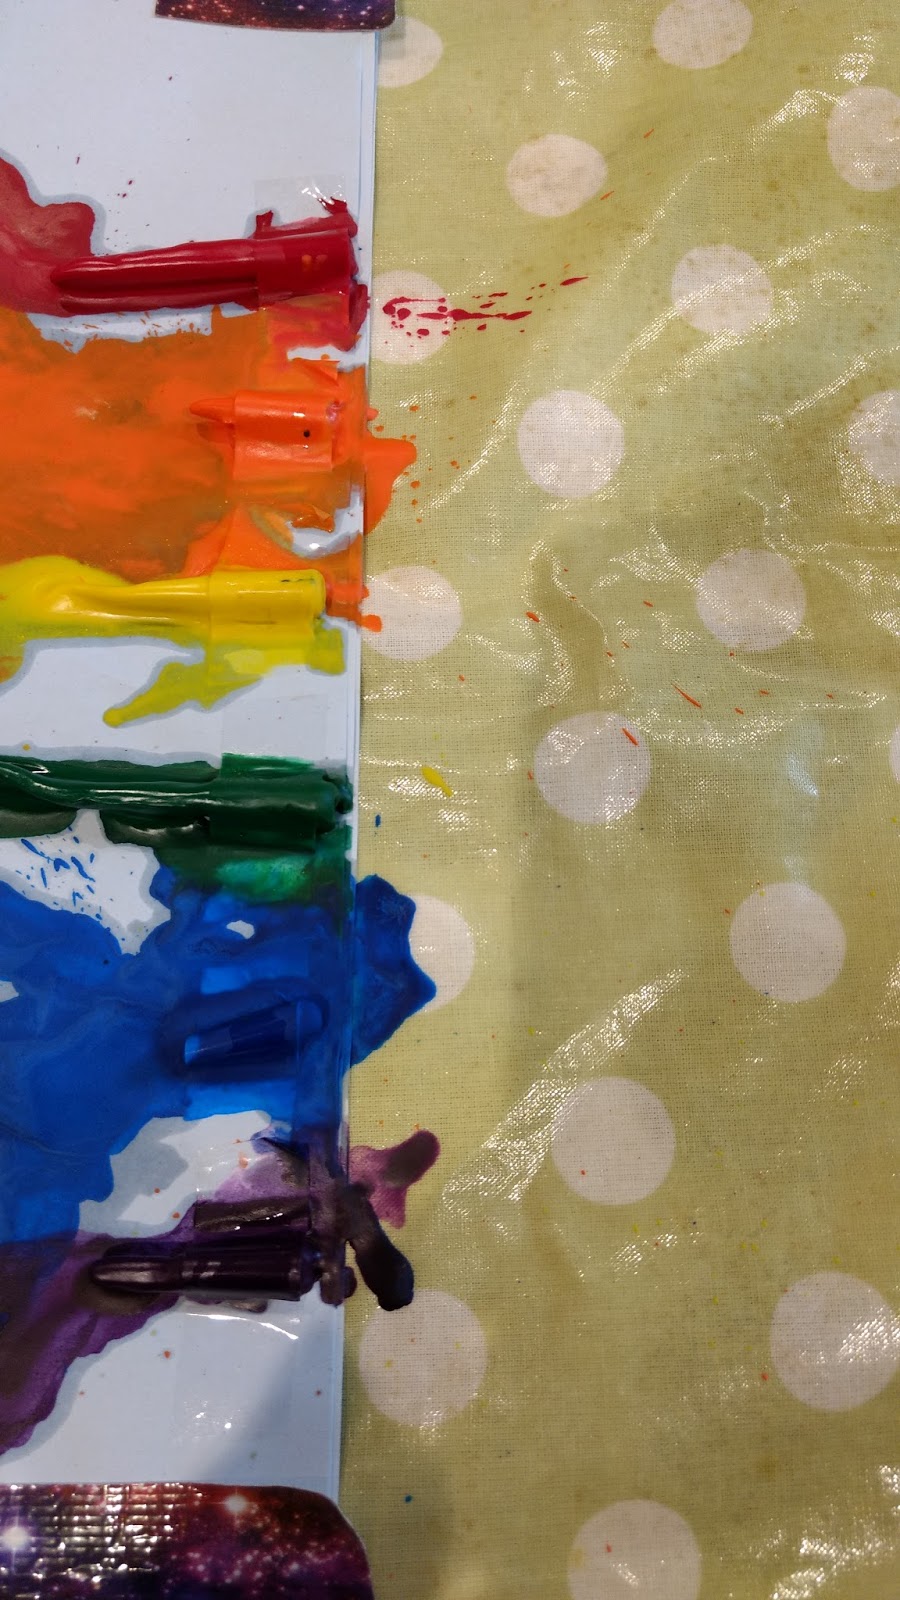
Essentially, take a baby wipe and fold or twist as you desire and then place as many rubber bands along the length of the wipe as you want. Then add colour. As we found, the more the better! Go for it!

The original article I saw suggested using washable markers, but we couldn't get much colour transfer, so we used food colouring (which worked well) and our set of beautiful watercolour paints from Stockmar (which were perfect).

Leave them rolled up to dry and then you can do the "big reveal" later and see what you have created. It was then easy to cut them up for some Easter cards.


I am now enjoying "wasting" my time looking up Shibori techniques. I think we could make some amazing patterns next time.

Saturday 11 November 2017

Wrapping paper

This has been a year long project - creating my own wrapping paper.

It started after I heard a show on the radio about how much wrapping paper can't be recycled - too much glue, glitter, plastic... I hadn't realised how much just went straight to landfill.

So, what about good old brown paper and string? Well first I needed the string... So I've been collecting ribbons, string, tissue paper, stickers, etc from gifts we've received and repurposed them. I know plenty still can't be recycled, but I feel at least it's staying in circulation a bit longer.

I also saw lots of ideas of how to decorate your own paper. Little E is still not that into mark making, so this has been something I do myself.

I've enjoyed the "mini art" buzz this has given me. Like a lot of people I think about joining an art class, learning to play an instrument, etc, but I am time poor at the moment and can't seem to squeeze it in. However, quickly splashing some paint or decorating a paper bag takes a couple of minutes, feels "useful" and taps into my creative side. It makes me happy.

As always, lots of inspiration on Pinterest.

This is some of what I've done so far. 


I did find something creative Little E enjoyed - flicking paint in the garden! As my friend said, I tricked him into doing "art" by doing it outside!

Little E's resistance has made me think a lot about being creative. He might not like drawing, but he loves mixing colours. He bought a huge sheet of paper home from nursery that looked like something by Rothko. I read up on Rothko. Little E's flicked paint reminded me of Pollock, so I read up on Pollock. I think I still get stuck with the idea that "art" is sitting quietly and drawing from life, but these painters were about ideas, feelings, using your whole body to express yourself... I will keep trying to help Little E express himself in the way he chooses.

I also now have a huge roll of decorated paper on standby. It's so pretty and I'm hoping to use it for Christmas.


Saturday 15 July 2017

Crafting by not a very crafty mum - textile recycling

Big E goes through clothes cycles. In the past he has tended to do a bulk shopping trip to replace his disintegrating clothes, but of course they then all seem to bite the dust at the same time. He has recently had to have a purge. Beloved t-shirts he has had since we were students, etc.

I've been thinking a lot about textile waste and I wanted to try something creative with ours. If something isn't fit for a charity shop, it's tough to do much but chuck it in the bin!

I kept looking for inspiration, but I don't want a rag rug, I don't need anymore cushions, I don't need a dress for a little girl...

Finally two very simple ideas came up. A non sew tote bag from a t-shirt and making myself a hankie.


Just search how to do this. It took minutes with no sewing. You just cut the bottom of the t-shirt into ribbons and tie together. This does mean there are small holes, but I use this now as a "sandpit grab bag" for going to the park and all the sand falls out the bottom as we head home. If anymore t-shirts head my way, I'm planning to make more bags to hang Little E's toys up in.

I'd like to reduce my waste in other ways and it had occured to me recently that hankies instead of tissues would be ideal for this. I always need one to hand for a quick wipe of a snotty nose. I was going to ask for one for a present, but then I thought surely they are just a square of fabric?

I thought these tutorials were great.

https://byhandlondon.com/blogs/by-hand-london/16666540-diy-handmade-hankies-napkins


This was a great little project for me. Got to practice different hand stitches (I could only do running stitches basically) and I even tried mitred corners. I didn't know what those were! They do look smart, but I need more practice to get mine perfect.


I now have a hanky that reminds me of Big E every time I wipe one of our babies' noses! Made me realise I could make a selection of hankies and napkins instead of disposable ones. Looking forward to it.


Monday 19 June 2017

Crafting by not a very crafty mum - tie dye

Finally got to do something I've always wanted to do - dye a t-shirt.


Little E was bought a tie dye t-shirt as a gift. I was amazed at how great he looked in it. I've always be a bit dubious about tie dye, but this t-shirt opened my eyes to the amazing colours and patterns you could achieve.


As always, I like to make Big E a t-shirt for father's day and I thought maybe he'd look great in tie dye too. I did a quick search and it was easy to buy tie dye kits and there were loads of YouTube tutorials and ideas on Pinterest.

I kept wondering what it was about dyeing something that was so appealing to me. I think it's something about having a go at something so permanent, about taking the risk it will go wrong. I lean towards perfectionism and I am often very self critical. Maybe I always wanted to do this as a child to have a chance to "fail" at something. I think it also feels a bit destructive. Scribbling on a t-shirt! Maybe I wanted a chance to do something that felt rebellious.

Definitely bit off more than I could chew with my first tie dye. It "went wrong", but guess what? The world didn't end and I actually like the finished product.

I liked the idea of a heart motif. The video tutorials made it look a doddle! Just fold the t-shirt in half, draw half a heart, fold and dye.

Turns out that folding the pleats nicely took practice. I also should have pre-washed the t-shirt, as that helps the dye be absorbed. The dye kept running off mine! When I opened up the t-shirt, I didn't quite get a full heart.

Darn! If I were younger, I know what I would have done - hidden the evidence! Once when I was a student I tried to make a surprise cake for my parents. It was inedible! I didn't show them. I quickly disposed of the cake, tidied up and never mentioned it.  I was so ashamed about it! I'm better now, but it was tempting to bin the t-shirt.

Instead, I "fixed it". I used a fabric pen to draw in the rest of the heart. I then completed the project with Little E's handprint and Little A's footprint. They came out well, but I've had practice with the fabric paint. That's the only way I'll get better with the tie dye - practice. Fortunately there is a little left, so I might try a onesie for Little A. Then all my boys can be in tie dye!


Wednesday 26 April 2017

Crafting by not a very crafty mum - melted crayons

Happy (post) Easter! Time to think about new thank you cards.

Despite Little E being pretty disinterested in drawing of any kind, I can't believe how many crayons we have in the house. This appears to be an universal moan among parents. But whatever you do, don't dare throw them out or the kids will notice and complain!

I kept seeing melted crayon art things on Pinterest and, considering we don't use the crayons much, especially not the broken ones, it seemed a nice way to use them up. I was a bit concerned how you melted them, but turns out you can do it with a hairdryer. Amazing.

I thought melting crayons with a hairdryer would be good for Little E, as it didn't involve holding a pen/pencil/crayon of any kind. I thought he'd like the mess, etc. Could I get him interested? No. Oh well, I had fun instead!


I read quite a few posts about melting crayons before I tried this. I'm glad someone mentioned taping the crayons down, because even on the lowest setting, the crayon pieces would have been blown away. I just used normal sticky tape and individually taped each crayon down and then used duct tape to hold the paper down. I just used normal paper and it worked out great. I was worried it would get too wet and tear, but I layered a few sheets up and it was completely fine.

This was so fun. Watching the crayons begin to dribble and then run away from the hot air. I could have made the colours all mix more, but I was going for a rainbow effect for the thank you cards. It was easy and mostly easy to tidy up, so I will certainly see if Little E wants to have a go in future. Maybe brand new brother, Little A, will be more amenable!

Do make sure you have the table covered and wear an apron. There was more splatter than I expected there would be. The crayon 'art' dried quickly.


I added a little Thank You and then used PhotoBox to print them on postcards. They looked lovely and bright when they arrived.


Wednesday 22 February 2017

Crafting by not a very crafty mum - disco box

Ahh... cardboard boxes. Where would I be without you?

The Finns stick their baby in a box, so I did too.


Saw this idea ages ago, but was mainly inspired by the children's centres in Oxford. They had home made light sensory toys at their stay and play sessions. It's such a shame many of these sessions have now gone due to funding cuts. They were amazing sources of support and inspiration.

This took a few minutes to set up and both my boys like it!

First step, is to poke holes in your box. I've been reading a book about bringing up boys and it inspired me to let Little E loose with some scissors! He likes demolition, so I thought this would be great for him.


Watching Little E stab at the box was tough for me. Instinctively I just want to keep telling him to be careful, but instead we chatted before about being safe with scissors and I let him go. My book said how much boys value being trusted and I wanted to show him I trusted him.

And we both survived intact. He loved making all the holes and he was a lot more careful than I thought he would be.

Then I stuck our LED fairy lights in the top.


Little E had wandered off, but when he came back he said "wow!". He stuck his head in the box and played around with the light settings. "I want it fast, mummy!" I also put my head in to make sure the lights weren't too bright. Little E was so proud when I told him we'd made it for Little A and gleeful when I showed him photos of him inside.

Little E won't let me turn the lights off now! Good thing Little A is enjoying it!


Crafting by not a very crafty mum - rainbow sensory bottle


I enjoyed my first glitter sensory bottle, or "disco slime" as one friend described it.

I have a large collection of buttons. I saw a "rainbow button" bottle idea. Seemed a great idea to use up some of my buttons.


I had lots of fun sorting the colours out. If you have an inclined child, I'm sure they'd enjoy searching for the colours.


I also had some rainbow beads from a broken necklace and some blue glitter.

I used baby oil the last time. It didn't mix with the water at all, which wasn't the effect I was looking for. This time I tried glycerin, which was suggested by several  Pinterest posts.


I didn't know how much to add, so I tried a little at a time. The more glycerin in the water, the more turbulent things were, so I used the whole bottle and would have liked more. However, I was still pleased with the result. The glitter swirls around beautifully, but I wish the buttons floated more. They make a delicious clicking sound as they fall, which I didn't expect.

Little E spotted these in the bathroom and sat mesmerised for several minutes, which was amazing for him. He liked the buttons best.

I'm still experimenting different methods of making sensory bottles, so I'm planning at least two more.